Friday, September 19, 2014

Stuffed Peppers...Tis the season!

You really can't pass up a freebie. I was offered half a box of yellow bell peppers. What? Say no? NOT! On the way home my mind was already humming as to what to do with them. A plan started to formulate. I could always stuff them with plain stuffing or get creative. A step back here....plain stuffing, homemade that is, is the best by itself. I have used it to stuff my Thanksgiving turkeys as long as I can remember. It really is a very simple thing that can be used for many different things and as here for stuffing peppers! I will get to that recipe in a moment. Ok I thought I have a little homemade tomato sauce in the fridge. I have rice....need bread for the stuffing so off to the store. I had to go anyway. Got a loaf of cheap bread while there and there was a good sale on some ground chuck. More for the mix! Back to the home turf!

Basic Stuffing:

1/2 pound butter or margarine
Loaf of bread
2-3 stalks of celery diced
1 medium onion diced  
Fresh or dried parsley
salt and pepper to taste
2 eggs

Need a big bowl for mixing and large fry pan for sauteing the onions and celery. In the big bowl break up the bread. 
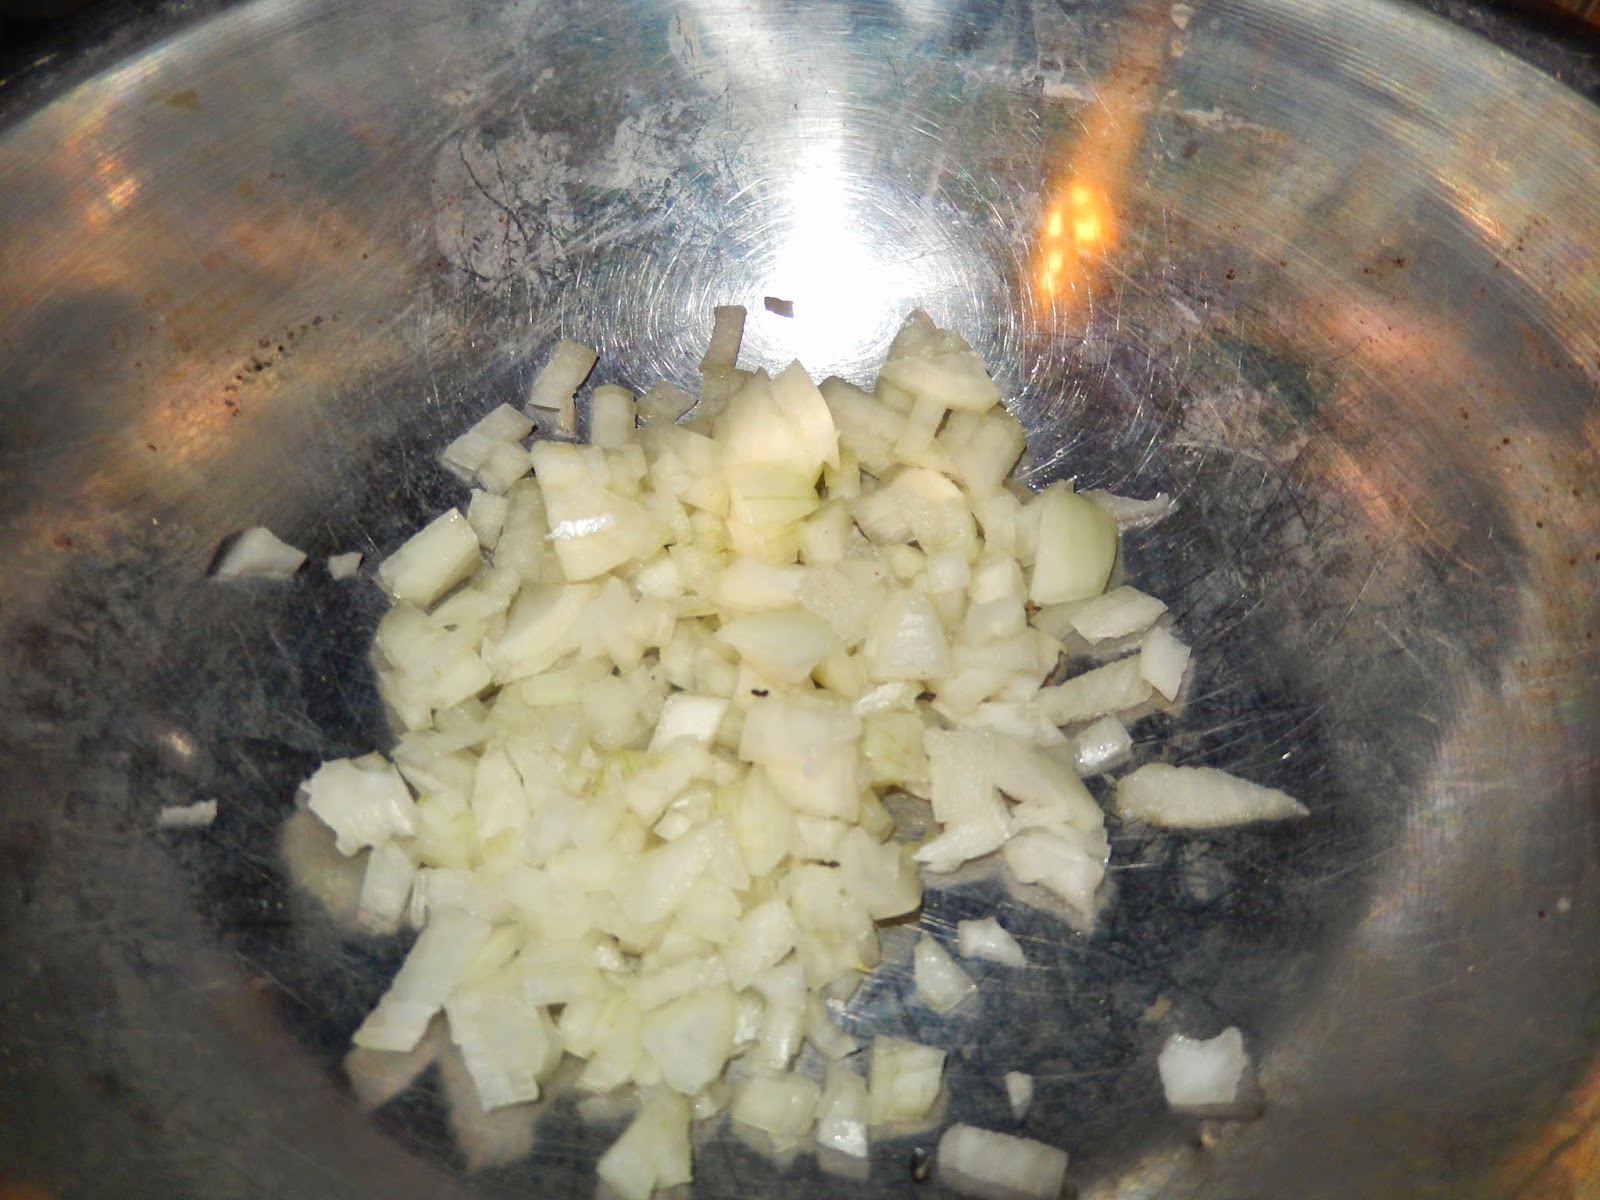
In the fry pan melt the butter or margarine and add celery and onions. Cook till translucent.


Chop parsley add to bread and add the onion and celery mix as well. As I had gotten some ground beef I cooked up a pound of it and drained and added that to the mix too.

Had some cooked rice...tossed that in.
So we have our mix all together. The stuffing, beef and rice. You can add additional spices if you like. Garlic maybe or some added black pepper and salt to taste. Fresh or dried rosemary for sure. Gives it a great taste. Now we need to core our peppers.
Aren't they pretty? Pre-heat oven 350 degrees. Stuff them up and place in pan. Drizzle a little olive oil or what you may have on hand. I also drizzled some leftover tomato sauce on them as well. Bake approx 40 minutes. Remove and eat up!


There are so many variations you can do. Add cheese. Add broccoli. Add ham. The sky is the limit! Let me know your favorite!
 
Enjoy!
 
Stephanie
www.webdees.com

Tuesday, September 16, 2014

Homemade Turkey Ham and More!

Ever wondered how it's made? We had an extra turkey, you know, shop so many times at a grocery store and get a free turkey? Well I had one and thought, hmmmm what can I do with this. I didn't wish to go down the traditional road so I had a plan. Let's see how far this turkey will go!
 
First, defrost. Seems silly but yup you got to make sure it is thoroughly defrosted from the get go. Sharpen your knives and begin by cutting off the drumsticks, thighs, wings with cutting off the tips and separating into two (a wing end and mini drum). Debone the thigh and put aside. Now don't be going and tossing the bones and scraps in the garbage! Get your soup pot ready with water, crack the bones and put them in the water. Include those wing tips too.
 
What you have left is the body with the breast still attached. Carefully remove the breast trying to keep it in one piece. Two is ok so don't worry about it. Dump the carcass and giblets and stuff into the soup pot. Let's start with the breast. Make a "soup" of about 1/4 cup of non-iodized salt, 1 tablespoon for each pound of breast, a cup of brown sugar and about two cups of water (or less, depends on container) mix well. Place the breasts into the mix and refrigerate for a week. Take out, drain and add cold water and let sit for about 20 min and repeat. We want to leach out some of the salt. I did tie up the two breast together with cotton string to make it one piece. You can see the "lumps" the string made in the picture. At this point you can smoke it like I did before finishing off in the over at 350 degrees for about 40-50 min. depending on size. This is what you get.

Turkey Ham! And delicious too! We have been making sandwiches with it.
 
Ok back to the rest of the remains..chuckling! Ok get a pan spray with non stick, place the drumsticks and wing parts, paint with your favorite BBQ sauce or like I used, Sweet Baby Ray's Buffalo glaze. Bake in oven covered 350 degrees for about 50 minutes then remove cover cook additional 10-15. Yummmy! Easy enough.
 
Ok, we started with one turkey and have a turkey ham and buffalo turkey so far. Let's go for broke. You have the pot with all the bones and carcass in it boiling away. I tossed in a few declawed and split chicken paws for extra flavor and smoothness but you don't have to. Skim off the scum as you go along. I like to toss in some bay leaf while it's cooking as well. After about an hour of cooking remove from heat strain and return broth to pot. Pick off what ever meat you can find and toss that back in too. Remember those two thighs you deboned? Cube them up and add them as well. Add chopped celery, carrots and onions. Add fresh parsley if you got it and maybe a sprig of fresh rosemary or use the dried stuff. Add some salt and pepper to taste. Got some fresh tomatoes on hand from the garden? Dice up toss them in too! Cook till all is tender. You can add a can of cream of celery soup if you like then add pastina or orzo or alphabet pasta, cook till done and serve up! If you let it sit and cool down it will thicken on it's own.
 
Out of one turkey you got three different type meals and then some. It's a lot of food for sure. Talk about stretching a dollar. I just love making George cry! If you have any questions please let me know. I will be happy to answer them. I hope you enjoyed this post! With Thanksgiving coming and the deals that will be offered you can pick up an additional turkey for a reasonable price. Happy Cooking!
 
 
Enjoy!
Stephanie