Saturday, April 19, 2014

Cream, Butter and New Bread Recipe and cheese making info

   Morning everyone. Today I skimmed off the cream from my milk. Thought I would give butter a try. Also, trying to come up with another bread recipe of my own. I have the cream sitting and the dough rising at the moment, just waiting till all is ready to proceed with each.
Dough rising

Cream ripening for butter attempt

   Just to re-cap, I get fresh milk from an Amish farm. I was particularly blessed to find this farm. They have a greenhouse with many fabulous plants as well as the milk I can use in my cheese making and such. The ultimate prize is that everything is so reasonably priced! This is certainly a huge bonus for sure.
 
   When you can get milk in this form for less than store bought, you have hidden treasures. Store bought milk has been separated and most of the butterfat has been removed. Hence the 1%. 2% and so on types of milk. I believe they also kill the lipases in the milk which is needed in certain cheese so you have to add it back in. That involves buying it from either +Amazon.com or a place like www.cheesemaking.com . As well, I have found that my yogurt came out better with the fresh milk too. I can't wait to make butter and get REAL, not store bought cultured buttermilk! I use both my homemade yogurt and buttermilk in making cheese because they each contain certain cultures necessary to make certain cheeses. More on that later.
 
   Now don't be mistaken. This is all work in progress and I am certainly not an expert on anything. I enjoy making these things and there are failures. Like making bread at the shore. The dough becomes a living blob dripping over the pans taking over the place and not rising up like it should. I usually let the dough rise in the oven with the light on and it just oozes everywhere! Then it's time to scrap out, toss in the garbage and clean the oven. *Scratching Head* Still trying to figure that one out. It doesn't do that at home and I can't seem to understand why I have so much trouble at the shore. NONE of my breads seem to rise right except at home! It has to be something with the salt air...I will figure it out sooner or later.
 
   So, I will just chug along here and just checked my rising dough. We seem to be rising quite nicely...another living blob thing again?
Will have to wait and see. Trying to make a bread with a nice holey texture for topping with my homemade cheeses and home grown tomatoes. I will keep you posted on my progress....till later!

UPDATE: I have let it rise and kneaded for a few minutes and let it rest..getting ready to divide.
Have the sheet ready sprayed with oil and dusted with corn meal

Kneaded and resting. It had a nice smooth feel to it too.
What shapes shall I make? One big and a few small? Undecided...any suggestions anyone? Well I decided without you! Making one long and a few little rounds.
I have hope. Take a look...I cut the salt in half what I would normally put in.
There is hope! No Blob!
 I had cut down on the salt by half like I said....rising normally. Going for the egg wash and the bake next.
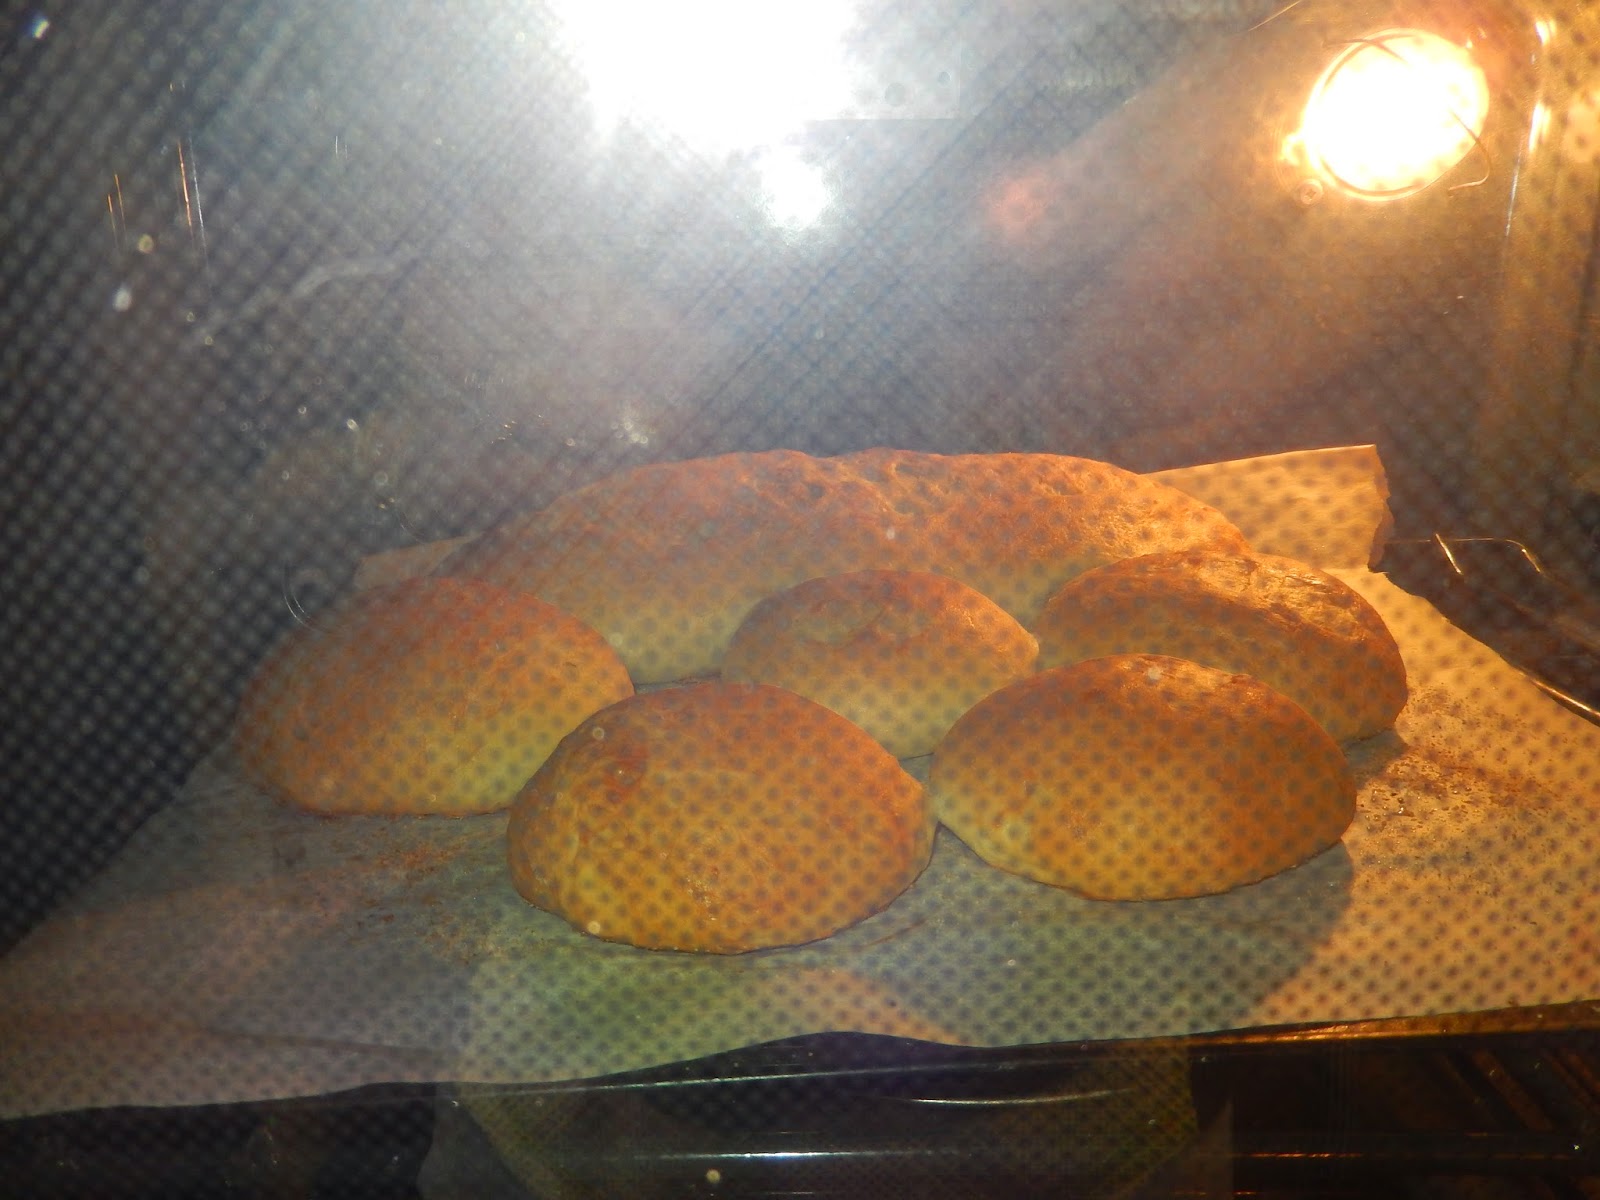
 A little hazy since it is thru the door. The steam is making it hard to take a picture.

Starting to look good. Turned the pan around twice. Doing the final bake stretch.

I think we have a winner! Who wants the recipe?
 
   I have finally made butter! Oh so smooth and creamy! Ever since watching Gene London show way back when I remember he made butter on his show. Took me over 40 years to get around to it but I did it and with real milk cream that I separated! Ok you peeps...who watched that show? Since I didn't have my Kitchen Aid mixer available I used a blender. My cream was sufficiently fermented. The butter rose to the top. I scooped it out into a small bowl and over the blender keep folding it over with a big spoon squeezing out the milk till it formed a small ball. Lightly salt and store in the fridge. This was a perfect partner with my new bread recipe.
The butter floats to the top.

Squeezed the milk out of the butter and made a ball.

I made butter! A little salt will do.

Buttering my bread.
Addendum: Even though I cut the salt down by half I still don't think the dough reached it's potential. I still think some flattening was going on. I did get a great tasting and looking product. When I look at the finished product I see some flattening. Not to be discouraged I think a minimum of salt will correct the issue. I am convinced that the salt air has a lot to do with the finished product not to mention the rising phase. Is there anyone else out there by the sea bake bread? I am so interested in your opinion. Please, please leave comments. Cheers everyone. I am done.....I will be making the recipe next at home. I am sure I will get a good rise there! Who wants it?


Enjoy!
Steph
 

Monday, April 14, 2014

Homemade Hamburger Buns or dinner rolls

I made a crock pot full of pulled pork and had no buns to put it on. Since I had all day (made them on a Sunday) I decided to make my own. I had checked out a great book from the local library called "The Bread Baker's Apprentice" by Peter Reinhart. It is an excellent book by the way. This recipe makes two 1 pound loaves, 18 dinner rolls, or 12 burger or hot dog buns. I did make a variation of the recipe since I didn't have "bread" flour and only unbleached flour. I added Hodgson Mill Vital Gluten to the mix to make up for the lack of bread flour. Also, instead of water I used some of my whey from making cheese but water is fine. Here is the recipe:
 
4 3/4 cups of unbleached bread flour or unbleached flour w/4 tbls. of Hodgson mill vital wheat gluten
1 1/2 teaspoon of salt
1/4 cup of powdered milk (DMS)
3 1/4 tablespoons of sugar
2 teaspoons of instant yeast
1 large egg slightly beaten at room temp
3 1/4 tablespoons of butter, margarine or shortening, melted or at room temp
1 1/2 plus 1 tablespoon to 1 3/4 cup Water (or whey from cheese making) at room temp
1 egg whisked with 1 tsp. of water until frothy for egg wash (optional)
Sesame or poppy seeds for garnish (optional)
 
Mix together the flour, salt, powdered milk, sugar, and yeast in a large bowl or bowl of mixer. Pour in the egg, butter and 1 1/2 cups plus water or whey and mix (mix on low on electric mixer with paddle attachment) until all the flour is absorbed and the dough forms a ball. if the dough seems very stiff and dry, trickle in more water or whey until dough is soft and supple. Sprinkle flour on counter and transfer dough. Knead adding more flour if needed to create a dough that is soft and tacky but not sticky. Knead for about 6-8 minutes. Lightly oil a large bowl and transfer the dough to the bowl, rolling it to coat it with oil. Cover with plastic wrap and let rise for about 2 hours or until the dough doubles in size. At that time turn out on your counter again and divide into two for loaves, 18 for dinner rolls or 12 for hamburger or hot dog rolls. Line sheets for the oven with parchment paper and shape your dough. Spritz with some oil and cover with towel to let rise about 60 - 90 minutes till dough doubles in size. I am making burger rolls.
Pre-heat your oven for 350 degrees for loaves and 400 for rolls. At this point you can use your egg wash and/or optional sesame/poppy seeds. Bake for 15 min. for the rolls or 35-45 min for loaves.

Cool for about an hour before using.
They came out soft and fluffy! I used them for my pulled pork sandwich

Any questions let me know! good luck!
 
Enjoy!
Stephanie
 
.


Sunday, April 13, 2014

The Amish Farm and Greenhouse Cherri-Knoll in PA.

If we all could be so lucky as to live near the Amish. They are more dear to my heart. Along with my friends that have goats whom I have gotten goat's milk from for some awesome Feta cheese that I have made I have recently frequented this place. To all my readers who live in the tri-state area of DE, PA, and MD. you really need to check this place out. Located not far from the Herr's Potato chip factory, it is a great place for cacti and other plants including milk and honey! I haven't sampled the honey but the milk is great for my cheese making and they have fresh eggs galore! Other than raising your own stuff this is the best to get it. Marketed lower than store bought, you can not go wrong. Also the variety of plants and such are great! I recently purchase a Echeveria Cactus, and a citronella plant from there at a very reasonable price.

 
Here is their brochure. The lady that runs the greenhouse likes to refer to herself as Cherri-knoll. If you should stop by please let her know you found her here and mention my name. Here is their brochure! Tell her I sent you!
 
 
Enjoy!
Stephanie

Wednesday, April 9, 2014

Pizza Muffins

I know this has been out there for some time. My mother made these in the '70's and don't know if she came up with the idea or saw it somewhere else. I have made them for years and years myself but elaborated on it somewhat since they always came out soggy the way my mother had made them. Since we just made homemade mozzarella and homemade English Muffins (from previous post) I thought it would be a great next post.  These would be a great snack for the kids or a appetizer for a party or just for dinner. So onto what you need:
 
English Muffins (Store bought or make your own!)
Sauce (Your own or store bought)
Mozzarella
Toppings
garlic powder
oregano
 
If you make your own you have this....

Split them open and toast them in the toaster. This will keep them from getting soggy when you put the sauce and toppings on till you bake them up.
Spread them out and put your sauce and toppings on. I use my own sauce but store bought would be just ok. A quick marinara sauce does great too.

Here I used my homemade sausage and baby portabellas which were sautéed first. You need to sauté your mushrooms first or they tend to release moisture when they cook and would add unwanted water on your muffins. Another thing. Your toppings should go on first before your cheese. Here we have my homemade mozzarella.
You will not believe the difference homemade makes. So if you really want to make a splash at a party you can say you made these top to bottom, literally! The Yum factor is huge! You can use what ever toppings you have handy. Sprinkle on a little garlic powder and oregano. Top with your cheese.
I opted not to use my regular oven and use my toaster oven. I also use unglazed quarry tiles. 6" x 6" I have 9 of them that I usually line my rack in my oven on the very bottom when ever I make pizza. The reason for this is so the bottom cooks evenly with the top or else your top will cook before the crust has a chance to cook. You usually get a burnt top before the bottom is finished. There are pizza stones you can purchase but I found that if you use the tiles that when not in use they stack and don't take up much room. They should be readily available at your local +Home Depot or +Lowe's Home Improvement Center in the tile section. Just ask. Remember they need to be unglazed. Well any way my toaster oven holds 4 of them beautifully. Heat the oven (which ever one you chose) to 425 degrees thoroughly. You want to make sure the tiles or stone is also at that temp. Now don't worry if you don't have the tiles or stone. With these, since we toasted the muffins first, you can use a cookie sheet. I just like using my tiles since they come out faster and more even. Personal preference but not critical for these. Ok back to the matter at hand. When the oven is all pre-heated (very important) pop them in.
Bake for about 15-20 minutes or until the cheese is melted and starts to bubble.

Don't they look the yummiest? Serve as it or let cool somewhat and quarter to serve as appetizers! Let me know what you think! If you should have any questions please let me know. I will be more than happy to answer you!
 
Enjoy!
Stephanie


Monday, April 7, 2014

Homemade English Muffins

Everyone loves English Muffins. Great with apple butter, homemade of course, butter or for Eggs Benedict for sure. I have tried a couple of ways and found these come out nice and fluffy and raise up quite well. I am not sure everyone will be happy with one of the ingredients but it is what it is. That ingredient happens to be lard. I am sorry but there just isn't anything like it. Just like with the pie crust that I have posted before, nothing works quite right without it. If you really must substitute use Crisco shortening or butter but let me know how you make out with it. So you will need that and some of that homemade buttermilk we have made in a previous post and lets get to it! Here is the list of all what you will need:
 
2 1/4 cup of unbleached flour
1/2 tablespoon of sugar
3/4 teaspoon of salt
1 1/4 teaspoons instant yeast
1 tablespoon of lard
1 cup to 1 1/4 cup buttermilk (homemade or store bought)
corn meal
 
Mix the flour, sugar, salt and yeast in bowl.
Add the lard (or shortening) and rub the flour together till well incorporated.

Add buttermilk till dough holds together and transfer to lightly floured surface and knead till smooth.
Put back in bowl, cover and let rise for about 90 min till doubled. Divide into about 6 pieces and make little rounds on to parchment paper (or wax paper) spritzed with oil or +PAM Cooking Spray and dusted with cornmeal. Spritz again on top and sprinkle more cornmeal on top, cover and let rise again for an hour to hour half.
Now you can either use a griddle or use a cast iron pan like I did. Heat on medium and gently pick up your dough and place on the pan or griddle.
Cook for about 5-8 min each side, twice or more till firm but not hard. Be gentle on the first flip! Reason for this is so you don't scorch them! See how they just puff up?
Toast them up and pass the butter please! Remember, you don't cut them open, you pierce the sides with a fork all the way around and pull apart. If you have any questions I will be more than happy to answer them! These really are not hard to do. There is more time waiting for them to rise than anything else. The quantity of ingredients cost next to nothing compared to store bought plus you made them! Frankly I think they taste better and seem much fresher!
 
Enjoy!
Stephanie
 

Sunday, April 6, 2014

Homemade Mozzarella Let the stretching begin! Part 2

Welcome back to part two of making homemade mozzarella! At this time you should have your curds done. I have tried a few different ways to do the stretching phase. I had the water too hot one time and dumped the curds right into the pot. When I strained it I almost lost all of it! I have used the microwave way and it was hit or miss with that and the cheese was rubbery. I have done it this way many times and it always work. When you work so hard to get the curds done and have this mess it up, it can be disheartening. So take your curds out and slice them up in a glass or stainless bowl. Plastic would be ok I guess as long as it isn't aluminum and it's roomy. Must be non-reactive.

Add a teaspoon of salt. No iodine! Ready a pot of water with a couple of tablespoons of salt and bring temperature up to 140 or so. You don't want boiling!
Add some the water to the curds.
Stir gently. Add more hot water and keep them moving around. Draw off some of the water if you need to add more hot water. Little by little they will start binding together.
Keep it up and start lifting it up with the spoon.
Pretty soon you will be able to gather it up with your hands. Keep adding more hot water as needed.


Isn't this so much fun? I love this part. Keep stretching until all the lumps are smooth.
Turn it under till you have a nice glossy ball and drop in salted ice water.
And here you go!
Pizza anyone? Wrap up and keep in the fridge till you are ready to use! You can also make little balls and store in olive oil with fresh parsley and garlic with a dash of hot pepper shakes. I love those! Let me know if you have any questions, I will be more than happy to answer them!
 
Enjoy!
Stephanie