Saturday, December 7, 2013

Potato Chip Cookies

Ahhh the holidays are upon us! Time to bake cookies! Ya baby! I got this recipe back in the 80's. So simple non-descript but very, very good. With it's unusual ingredient they are so good! No special form or rolling out nor special equipment. Very basic and easy enough to have the kids making them! Well lets get on with it!
 
2 sticks of butter
1/2 cup sugar
1/2 cup of crushed potato chips (regular)
2 cups flour
1 tablespoon of 10X sugar
1 teaspoon vanilla
1 teaspoon baking powder
1/2 teaspoon baking soda

(The Vanilla is my homemade!)
 
Cream sugar and butter and add all the other ingredients.
Grease or Pam cookie sheet and pre-heat oven 350 degrees.

Form into a small ball and flatten with your fingers. Bake 350 degrees 15 minutes or until golden.
Cool and keep in a sealed container...provided you don't eat them all! You would never believe they have potato chips in them! Easy, quick and so yummy!
 
Enjoy!
 
Steph
 

Sourdough Starter Pancakes

Well I am back to the sourdough starter. Your living, growing starter can be used for a multitude of things. You don't have to go out and buy this to make that or buy that to make this. The store has you running all over the place to cook different things. Pizza crust mix, pancake mix, cake mix, bread mix...sheesh! All you need is your sourdough starter and its a renewable source so you always have it on hand! Now you may think I am making all this stuff up for this blog but you have been seeing what I make for me and my family most days. So I live this lifestyle and save myself money and I wanted to share it with others. Therefore, I started this blog! Ok enough of all that let's get back to what this is about! What you need is this:
 
3 cups sourdough starter
2 tablespoon sugar
2 teaspoon baking powder
2 tablespoon of veg. oil
dash of salt
 
Sounds simple doesn't it? Just heat up your pan and make like you would normally. I make my own grape jam from grapes from my vine and I made a glorious syrup with it out of Karo corn syrup and the jam cooked till combined. Yummy!
So you see, you don't need pancake mix at all.  
 
Enjoy!
 
Steph
www.etsy.com/shop/deesshoppe

Friday, December 6, 2013

Pork Stoup with Barley

With winter setting in comfort food is always welcomed. This is a hearty dish which can be made with pork bones. I had picked up a whole bone in pork tenderloin for $1..68 a pound. Great deal. After cutting out the tenderloin which I made Canadian bacon out of I used the bones to make this. You can also use pork neck bones which you can get on the cheap. Save you lots of money and make a delicious stoup that is full of goodness too! You pretty much make this like any other soup with some variations.
 
Pork Neck bones or any kind really
3 large carrots
1/2 stalk celery
1 medium onion
2 small potatoes
 several sprigs of parsley or dry
optional fresh sprig rosemary
1/2 cup barley
Salt and Pepper to taste
Optional Turmeric
 
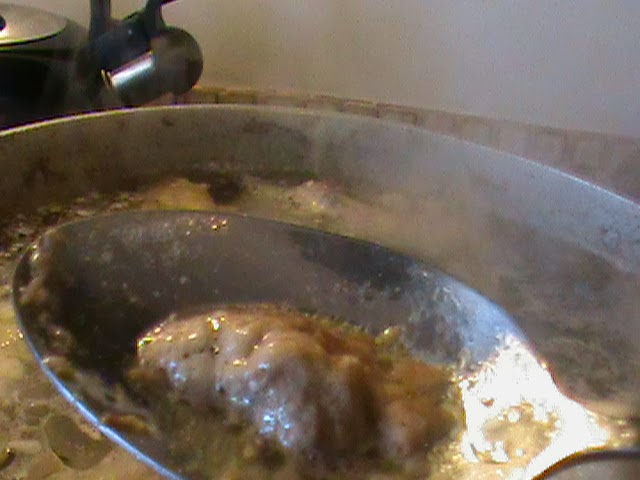
Cover your bones with water and cook till tender skimming off any gunk that may accumulate on the top like we did with the chicken soup.
Chop your carrots, celery, potatoes and onions in the mean time. Remove the bones to cool
and add your veggies, chopped parsley.
Cook till veggies are done and strip the bones of any meat and add to your pot.
Add your optional rosemary (love this stuff!) and about 1/2 cup pearl barley.

Cook away till barley is done and your stoup thickens. Add salt, pepper and turmeric to taste. There you have it. Thick, yummy and cheap meal.

Add a salad and some garlic bread and you have a great meal for a cold day.
You can make a stoup or soup with almost any kind of meat and bones so you really don't have to stick with traditional stuff. If you catch a good sale you can make a big pot of goodness for little money.
 
Enjoy!
 
Steph

Thursday, December 5, 2013

Chocolate Coffee Pumpkin Angel Food Cake!

This is another cake rendition using boxed Angel food cake mix! Truly a Coffee cake with real coffee! You will need:

1 Box Angel Food Cake Mix
1 tablespoon Cinnamon
1 teaspoon ground Ginger
1/4 teaspoon ground Clove
2 heaping tablespoon instant coffee
2 heaping tablespoon Baking Cocoa Unsweetened Powder
2 cup Pumpkin Puree can or fresh
1/2 cup milk
Two handfuls of semi-sweet chocolate chips
Optional nuts
 
Mix all your ingredients together with exception of the chocolate chips.
 I used Hershey special dark chips. You can use which ever kind you want really. Ready your pan.
Grease or spray with Pam. Pre-heat oven 350 degrees.
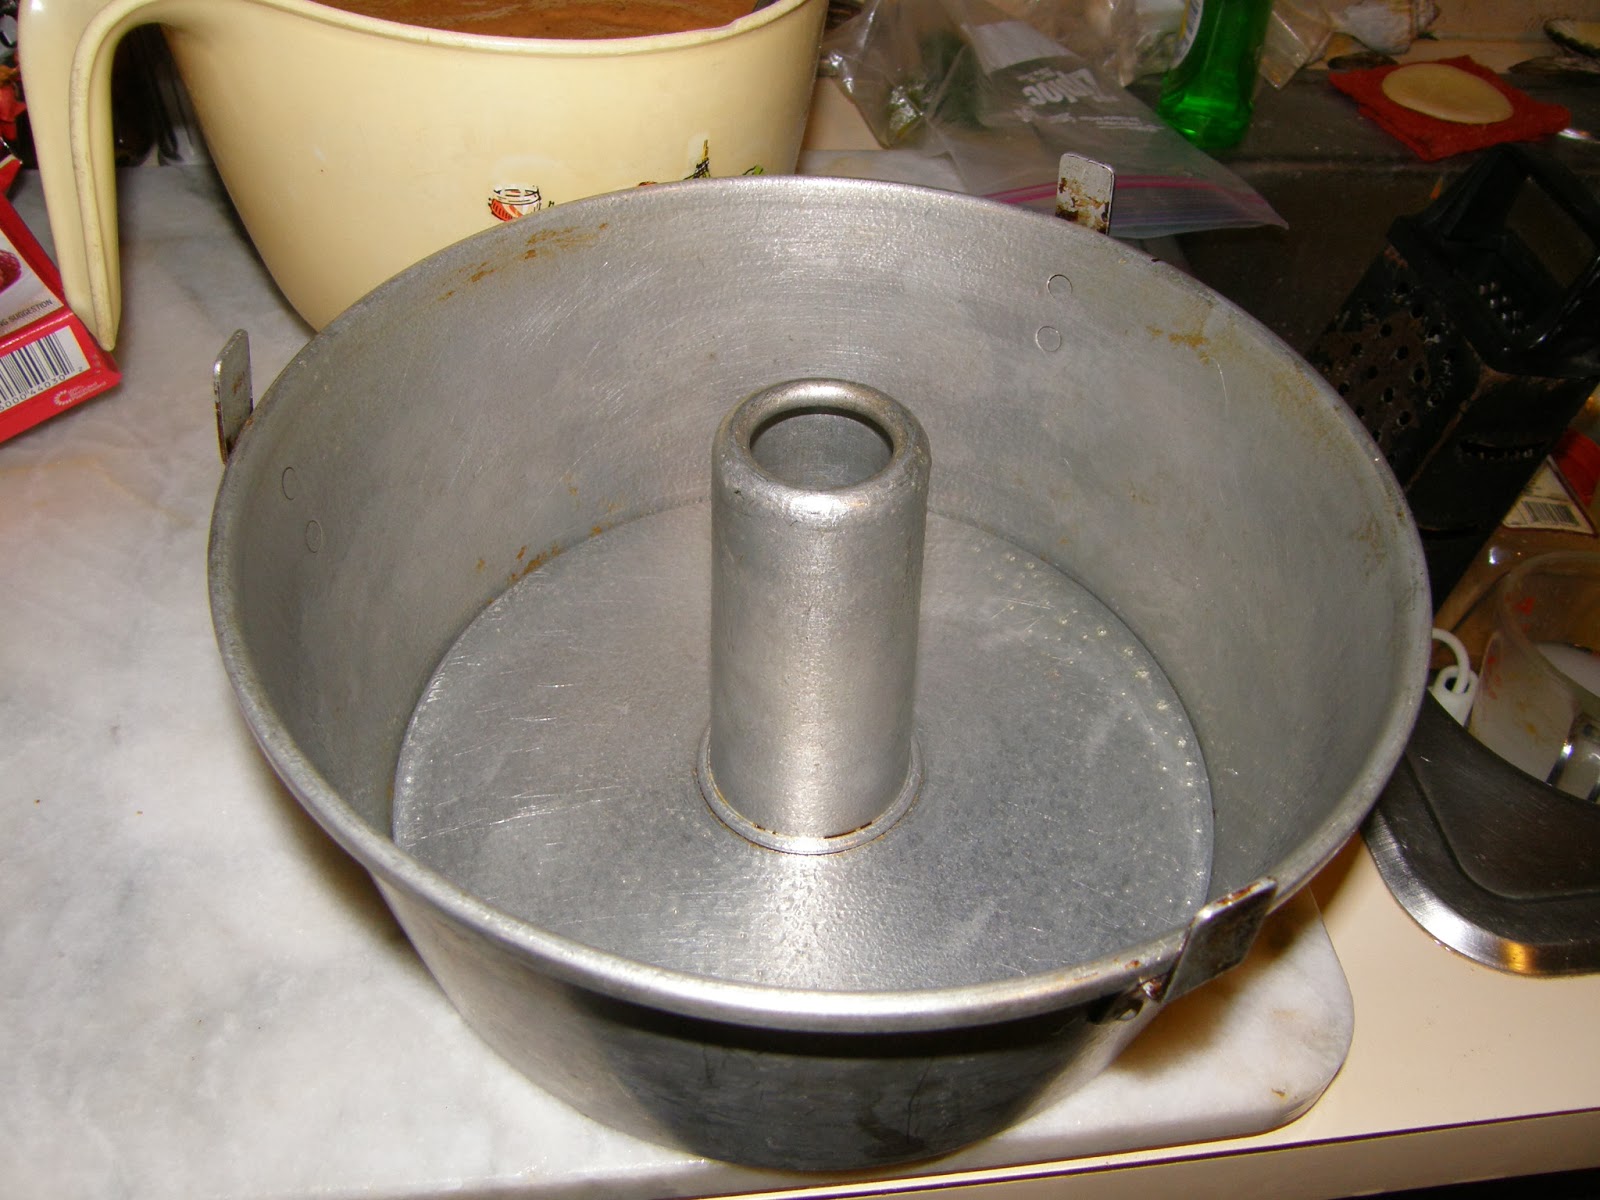
Fold in chocolate chips and optional nuts and pour into pan. You can use a tube pan as here or a bunt pan. Bake for about 40 minutes or until knife comes out clean.
 
This is so decadent! I have made this several times and it is always a crowd pleaser! Bet you can't have just one piece!
 
Enjoy
 
Steph

Tuesday, December 3, 2013

Make Your Own Tortilla Chips on the Cheap!

The purpose of this blog is mainly to do things on the cheap, to get closer to basics and to get away from the convenient-ized world that we live in. Like I have mentioned before, we are so used to store bought stuff, our taste buds have forgotten or never had the real thing. We rush, rush, rush, to go where? I have always made a home cooked meal the normal way. My mother once asked me why don't I just buy the pre-prepared stuff and it was quicker. Sorry, I don't do that and I have always made everything the old fashion way, or close to it and still believe it's the best way, and the healthiest way by default. My best friend and the love of my life when I met him was I guess over weight. Before he met me he ate I am guessing fast food and processed foods. Within 6 months he lost over 40 pounds and his family didn't recognized him at a family gathering we went to. Since then his blood pressure has dropped with the weight as well as cholesterol. No tricks, just home cooked meals with lots of love. There is something to say about making food the right way instead of buying what other say what it should be or has become. By the way after over 6 years he hasn't gained any of it back.
 
All I hear about when people ask me about what I make is that "I don't have time for that!" Oh how that pains me. I don't understand that statement. While some things are cooking or simmering get a load of laundry done or fold clothes or run the vacuum. I am sure you can set a timer somehow to get it all done. Timers are great so you don't get off track.
 
Ok so let's get back to what this blog is about. Tortilla chips...I don't buy them in the bag any longer and haven't in a long time. How much is a bag these days? $2.99-$3.99 a bag? With a little oil which can be re-used for other things you can make tons of chips for $1.00! That is right! I said $1.00! I am not talking about making dough and rolling and frying but with something you can buy on the cheap and make your own. Here is what you need:
 
Oil (vegetable)
Corn tortillas
 
Can it be any simpler? I don't think so! A stack of corn tortillas cost about a buck, can be found in the mex aisle in the supermarket. Not the flour tortillas mine you!
 Cut into fourths and fry in oil till golden brown. I have tried baking them in the oven at 350 degrees but they don't taste as good (so I am told from my taste testers) but are probably better for you. If you pre-bake them in the oven for about 10 minutes before deep frying them they come out better and don't take as long to deep fry them. You only need about an inch or so of oil so you don't need any special equipment to deep fry them in. Cut into fourths and drop in the oil.
 As you can see I have a sauce pan I use just for deep frying. You will need a slotted spoon to scoop them out into a paper lined bowl. Look how may you get for a $1.00!
This was just about half of what I got as everyone was hungry for my chips! The butter knife gives you a perspective of the size of the bowl. Is it worth about 20 min. of your time?  I think so and I hope you do too.I made these while waiting for my pizza to be done! I do mine without any seasoning but you can shake on ranch dressing mix or salt, pepper or anything you would like. Like I have said, I do mine naked. My salsa is enough..but that is another blog!
 
Enjoy!
 
Steph


Home Cured Slab Bacon!

Since I have already posted the Canadian bacon on my website www.webdees.com I thought I would post slab bacon today! This is also a huge hit in my house. The hard part of slab bacon is finding pork bellies. The local Shop Rites here have pork bellies but you have to call and make sure they just got it in and don't cut it up! I buy the whole un-dressed ones from them. I can also get them from a local butcher where they are dressed. What I mean by dressed is that they already cut off the skin and the ribs off the belly and it is ready to go. Since the Shop Rite's are not dressed I have to trim it off myself which isn't so bad as we have ribs that night and pork rinds another as well as the bacon. I don't waste anything! You could ask them to dress it for you and give you everything  back if you ask which I may next time I get it. Hmmm didn't think of that! Pork Belly runs about $2.69-$2.89 but it depends where you get it. They are about 9-14 lbs depends if dressed or not. So let's assume you have a belly all dressed. About 9 lbs. Get yourself some of those 2.5 gal. Ziplock bags. Makes it very easy for our purpose. So here is what you will need.
 
Pork Belly
Morton's Tender Quick
Kosher Salt
Brown Sugar
Optional Liquid Smoke
Optional Black Pepper
 
If you got a full belly you may want to cut in half to accommodate the bags and make it easier to handle. In a bowl mix 1 tablespoon of tender quick per pound of meat, 1 pound of brown sugar and 1 cup of kosher salt (any salt is ok just NO iodine!) and optional liquid smoke. We are going to do a dry cure method and I will explain why in a bit. Put your bellies in the bags and divide your cure between the two and rub them down completely on both sides. I like doing them in the bag, contains the mess. Make sure you get all the surface including the sides. Zip them up and lay them flat in the refrigerator. You can stack them on each other if you want, I do. Turn them once a day draining them after day two, of accumulating liquid. Some people don't drain them but I do. Continue for 7 days. After 7 days remove from bags and rinse off. Soak in clean water for about an hour changing the water twice or more to leach out some of the salt. Pat dry and you can cook as it is or go a bit further. I rub them down with black pepper and I smoke mine in my homemade smoker but you don't have to.

Slice off your bacon
or if you have a slicer, slice off and package into about pound packages and freeze till ready to use. I smoke mine with hard wood charcoal and apple wood from my tree for about 4 hours at about 180 degrees.
Remember to always cook your bacon before eating! Had to say that for safety! Now the reason for dry cure. Your bacon will NOT shrivel up to nothing and it will not spit at you! During curing we took out all the liquid! Your pound of bacon will make a mountain compared to store bought. What you are buying in the store is mostly added liquid they add to add weight and when you fry it the moisture is released into the grease and spits. You will notice that your bacon cooks faster and no spit and is much more tastier than store bought! Believe me once you make your own you will never buy store bought again. Wow your family and friends. My family only eats mine now and I have spoiled them big time! One slab of pork belly keeps us in bacon for each weekend for a couple of months. So for a little prep time and lots of wait time you can make your own. I will be happy to answer any questions or comments below!
 
Enjoy!
 
Steph

Monday, December 2, 2013

Old Fashion Chicken Soup

Well with Thanksgiving over with and I am sure we are all coming out of our Turkey Comas. I hope you all tried some of the pies that I posted. I know I made them all and they were delicious. Now on to other things. With the flu season upon us with it's aches and pains we will look into some comfort food. What better than Chicken Soup! I read an article years and years ago about a study that compared hot chicken soup and hot water and its effect on a cold. Essentially there wasn't a difference between either as it was the hot steam, they concluded, was what helped congestion. I thought about that and did some digging and came to my own conclusion. We don't make chicken soup the way our grandparents made it. Does tossing a chicken, carrots, onions, celery and some store bought chicken stock into a pot sound like something you would make? Maybe, maybe not but it may be close. Now there is a yuk factor to some with this recipe. Try to get around it. Let's begin...
 
Old Fashion Chicken Soup
 
1 Chicken
1 package of chicken feet prepared
Carrots
Onions
Celery
Parsley
Salt & Pepper to taste
Pasta of choice
Optional rosemary and turmeric
 
Chicken Feet the Yuk factor.

A little about chicken feet. You see them in the store but what the heck are they for? They are a delicacy for some but we are going to use them for their benefits they provide. They are chock full of glucosamine and chondroitin which is great for joint health..the aches and pains of a cold or flu? Full of collagen to promote skin health, full of protein and calcium and much more. Plus it provides a velvety smooth taste to your soup! Since the feet you get in the super market these days as in the above picture are already cleaned and ready to go. You need to prepare them by sniping off the nails and splitting with a knife lengthwise. Snip any dark spots out of the palm.
This allows all the goodness to come out in your soup. Toss them in the pot, cover with water.
Next get your chicken. You want to split it up and whack the bones with the back of your knife to crack them.


Toss it into the pot. The reason for the chopping and hacking is to allow all the chicken goodness to come out!
I like tossing in a bay leaf and a sprig of rosemary at this point. Cook away and skim the yuck off the edges.

 
Meanwhile cut up about 5-6 carrots, a large onion, half a stalk of celery (include the leafy part! Tasty!). You can add more if you like,
Strain out your feet and chicken and let cool. Add your vegetables and parsley, salt and pepper.
Continue cooking till soft. When your chicken meat is cool to handle, cut up and add to your stock. Any left over chicken reserve for chicken salad. Add your pasta of choice...I used this. Add about a cup.
Cook till pasta is done and serve. I like to add a little Turmeric and a little extra black pepper for added benefits as stated in one of my previous posts. Now this is comfort food and very good for you! Don't knock the chicken feet till you try it. I can't resist slurping the cooked ones. They are very tasty but that is up to you. I hope you will give this a try. It is the best chicken soup you will every make and the best for you health wise. If you have any comments or questions please let me know. I will be glad to answer them for you!
 
Enjoy!
 
Steph