Showing posts with label Milk. Show all posts

Saturday, April 5, 2014

Homemade Mozzarella Part I Let the Curds Begin!


Homemade Mozzarella Cheese Part 1
Let the Curds Begin!

     I am doing this in two parts because it is much easier on time for most people. Also so you can relish in the success of accomplishment of both steps. In the past I have tried over and over again to make mozzarella with hit and miss success. Since I don’t like anything getting the better of me I kept trying till I hit on the best approach to both crucial steps involved. I had pretty much got the first step down pat, which is the easy part that most can do, but the second step eluded me for a long time. I either got a great cheese spread or I got a rubbery rendition of the real deal. I trolled the internet and watched loads of video and never pounced on the same delivery of stretching the cheese which is crucial to making the stuff. I almost lost everything one time and kicked myself in the butt! You know, there has to be hundreds of sites and video on how to make the stuff. Everyone has personal opinion how to make it. Not to mention it’s success…I even watch this one video that touted from start to finish and the darn guy started with commercial made curds and only demonstrated how to stretch it only! Well in my book it was definitely not start to finish. Just part 2. But, to give where credit is due, that particular video did give me a solution to my issue with part 2. Solved all my issues and I am grateful for sure. More on that in part II. So without further ado here is part 1.

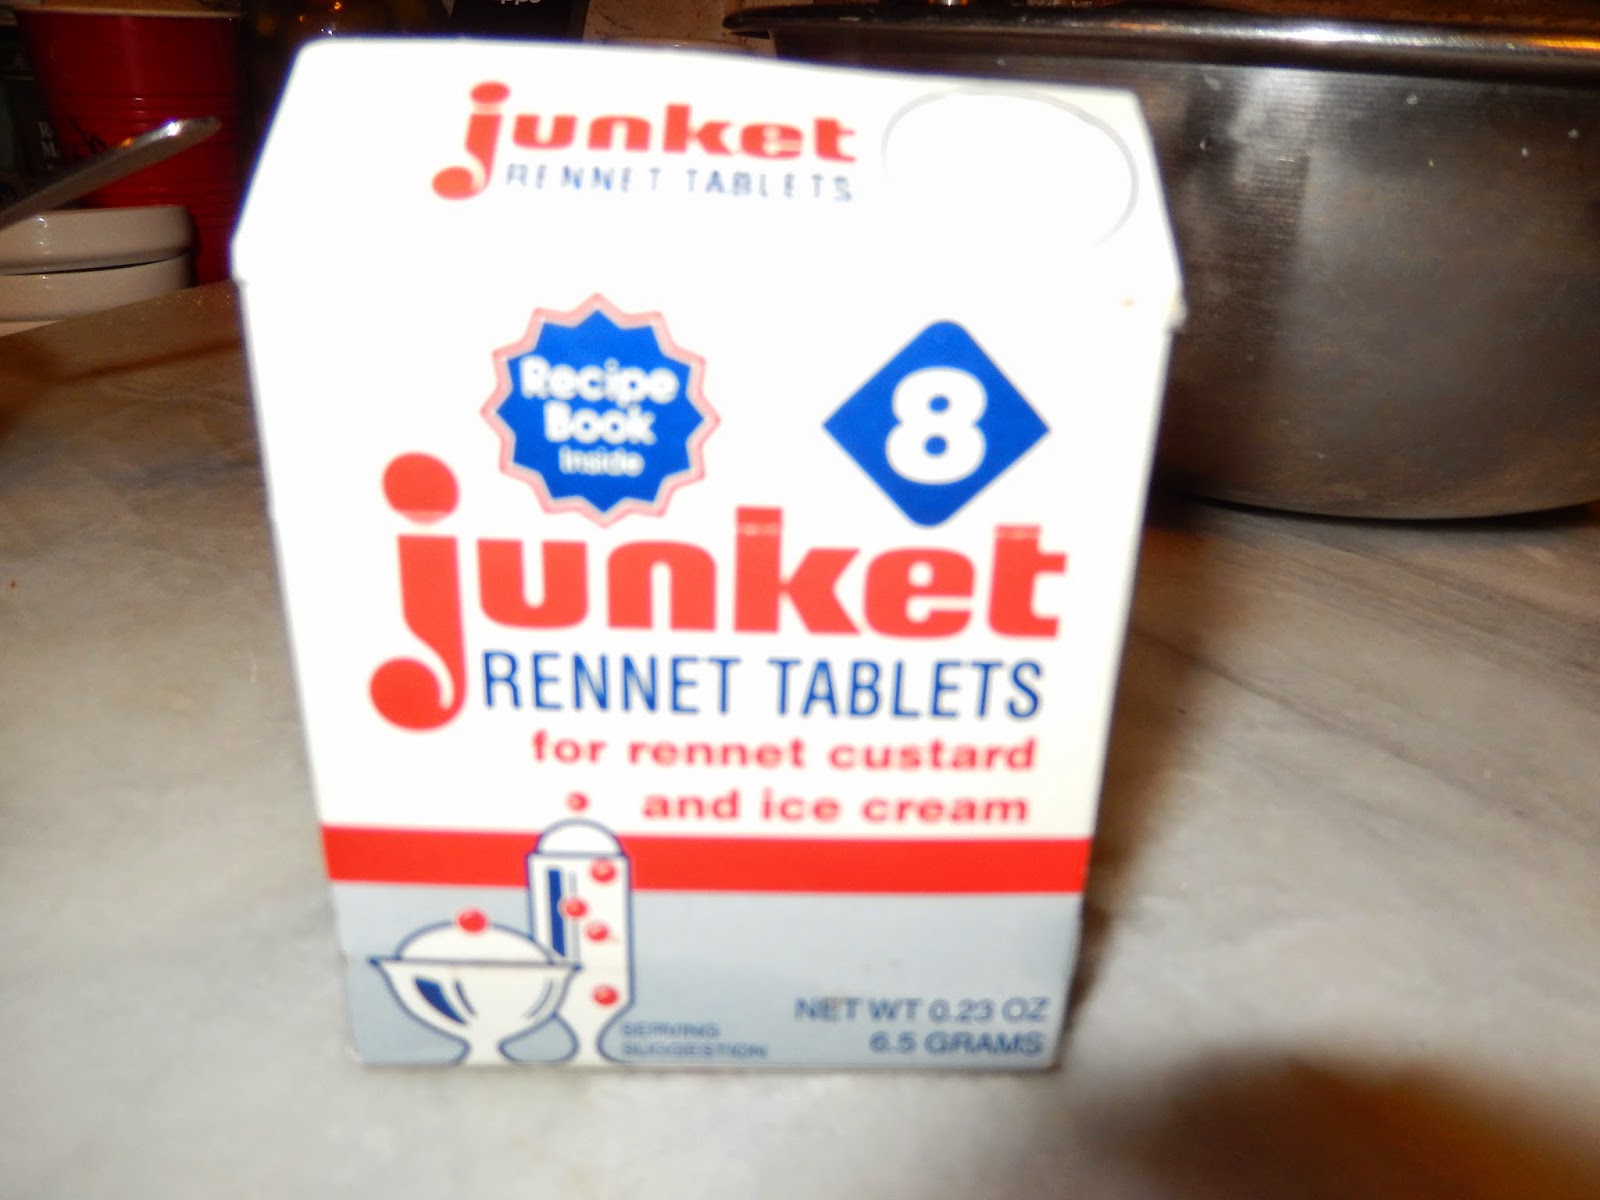
             I have been working with one gallon of milk at a time. It is so much easier to work with. I have to mention that lately I have worked with some Amish fresh milk but there isn’t a reason that regular store bought will not work for you too. I have tried this with and without the pickle crisp and with works the best so I recommend it. Ball makes it and it was available at the local Walmart in the canning section. So get some. You will also need citric acid and Junket rennet. Salt is important for preserving as well as taste. DO NOT use table salt. Iodine will ruin it. Use either kosher, sea or my cheap fav pickling salt. No iodine. Important. So, let’s run down the list:
 

1 gal milk of choice (whole and fresh preferable and encouraged for best results)

1 tsp of Ball pickle crisp dissolved in a ¼ cup of non chlorinated water. Important too!

1 tablespoon of citric acid also dissolved in a ¼ cup of non chlorinated water

1 tablet of Junket rennet dissolved in a ¼ cup of non chlorinated water
 
Here we go…I use the double boiler method easier to control the heat.
Bring milk up to room temp. Add the pickle crisp mix wait couple of minutes and add the citric acid mix and stir. Gets lumpy some at this time.
Start to bring up to 89 degrees in the double boiler set up. Usually about 95 degrees in the water should get you where you should be in the milk. Adjust to get to 89-90 with the milk. Stir to distribute heat evenly. Turn off heat when you have to so not to go over.

Once at 89-90 stir in the rennet mix about 20 seconds and for goodness sakes turn off the heat and on again to maintain your temp. Take it off the heat if you have to. Just be gentle. Place the lid on the pot with the temp off and check to make sure every once in a while you still have 89-90 degrees till clean break happens.
To check for clean break take a spoon as in above the whey should be a pale yellow and the curd separates cleanly. Once that happens cut the curd in three different directions and let sit 15 min to release more of the whey.

Gently stir, and then start to raise temp to 102 slowly. The curds will mat and you will want to stir to separate them and evenly cook them.

Do this and maintain the 102 for about 20 min. Strain into a bowl in a colander and transfer over hot whey that you have drained. Make sure the bottom of the colander is not sitting in the whey but over it. You may have to pour off some of the whey but reserve it to make the ricotta!

It will mat which is ok. Flip over still over in the colander over the hot whey. It will help draw off the liquid. I put the lid on top. I find this is easier than transferring to a cloth and hanging. One less mess to deal with. 
At this point you store the resulting curd in the fridge till ready for stretching. Meanwhile, take all the whey and raise the heat and gently boil it for about 30-40 min. and then let sit for a while to cool. strain in a tight weave strainer to get all the ricotta.
Use what is left of the whey for bread baking or if you know someone who is into protein shakes and the like they can use it. It is full of protein. Drink it if you wish or water your plants with it even! Till part 2 the stretching! Come back to see an easy way to do it!
 
Enjoy!
 
Steph
 

Monday, November 11, 2013

Homemade Greek Yogurt!

Homemade Greek Yogurt you can make at home with equipment you probably already have! Does this all look familiar?
This is your high tech equipment! LOL Bet you didn't think you had your own yogurt making equipment! So here is what you do......
Take about 1/2 gal milk heat to 170 - 180 degrees...that would be a little after it starts to bubble around the sides. Don't scorch it! Let cool to 105 degrees. 
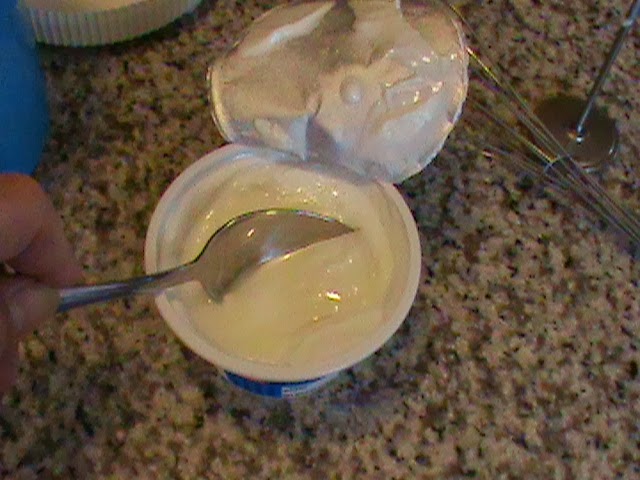
Now add your starter. If you eat a lot of yogurt you will only have to buy this once.


Three heaping spoonful's ought to do it! You can eat the rest now.
Mix really well and put the lid on. Place in cooler and wrap the heating pad around it. Turn on the heating pad to medium and close lid.
Simple huh? Let it do it's thing and come back about 12 hours later. You can start this in the morning before work and it should be ready after you get home, made dinner and done cleaning up. You will need a colander, bowl and some sort of fine cloth as a linen dinner napkin, cheese cloth, muslin  +Walmart sewing department sells muslin cheap and its washable and re-useable! Or an old clean t-shirt will do. Line the colander with your cloth, place over the bowl and dump the yogurt in. Your yogurt will be a little soupy but that is ok, we want to drain some of the whey off. Gather the corners, tie to long mixing spoon or chop stick or I hang mine from the cabinet handle with twine or yarn and suspend over the bowl. Let drain about an hour and you are done. Take down and transfer to a container for storage in the fridge. Oh and save what you drained off. It is whey. If you are following this blog you will need it for what is coming up!
Chill and you are all set. When you get down to the last couple of spoonfuls repeat the process. You will never have to buy yogurt again! Keep refrigerated.
 
Add fresh fruit or canned for a homemade delicious treat! Add some frozen berries and blend for a smoothie! Use instead of sour cream on your potato or tacos! My favorite is on fried chicken. Years ago I was fed lunch by a Greek family and they made their own yogurt. Lunch was fried chicken with yogurt. Don't knock it till you try it! It was the most delicious thing I ever tasted and I have remembered it from over 35 years ago!
 
You will save money and you can make any flavor you want. Most of all you did it all by yourself! Go ahead and boast! No fancy yogurt maker, no fancy equipment! Another thing did you know that you can use yogurt in making different kinds of cheese? It has enzymes needed to make different kinds of cheese! That is another blog! 
 
Let me know how you make out or you can leave a comment or question below. I would love to hear from you!
 
Enjoy!
 
Steph


Monday, November 4, 2013

Buttermilk..the other white milk-Make your own!

I don't think enough people realize the great uses for buttermilk. I use it so much especially with the price of beef I buy loads of chicken. I always soak my chicken in buttermilk before breading or straight out baking. The natural enzymes break down the tissues and make the chicken oh so moist, juicy and tasty. Sometime you can mix in some spices or a packet of dry marinade into the buttermilk to add a little zing. I have used it for pork with a similar result so be creative.

Buttermilk is great for pancakes, use in making your own cheese making instead of buying expensive cultures and a wealth of other recipes.  There is something you might not know that once you buy it you don't really have to buy any more. Most of the buttermilk you see in the store says "Cultured". Well you can culture your own. Just keep a cup and use a quart mason jar or the like (non reactive only) and top it with regular milk, shake and place in a warm spot till thickened. Takes about 12-24 hours depending on the temperature. Give it a shake and use as usual. When you get down to a cup again do it all over. You may want to wash out the container between batches.  A lot easier and cheaper than to run to the store to buy more! Only takes a minute or two. Why give the store your hard earned money! It keeps like milk so use and make more often or its back to the store for more. I will try and post some other yummy recipes to use it in.

I would be glad to answer any question on this or any other blog.
 
Enjoy!
 
Steph