Saturday, April 5, 2014

Homemade Mozzarella Part I Let the Curds Begin!


Homemade Mozzarella Cheese Part 1
Let the Curds Begin!

     I am doing this in two parts because it is much easier on time for most people. Also so you can relish in the success of accomplishment of both steps. In the past I have tried over and over again to make mozzarella with hit and miss success. Since I don’t like anything getting the better of me I kept trying till I hit on the best approach to both crucial steps involved. I had pretty much got the first step down pat, which is the easy part that most can do, but the second step eluded me for a long time. I either got a great cheese spread or I got a rubbery rendition of the real deal. I trolled the internet and watched loads of video and never pounced on the same delivery of stretching the cheese which is crucial to making the stuff. I almost lost everything one time and kicked myself in the butt! You know, there has to be hundreds of sites and video on how to make the stuff. Everyone has personal opinion how to make it. Not to mention it’s success…I even watch this one video that touted from start to finish and the darn guy started with commercial made curds and only demonstrated how to stretch it only! Well in my book it was definitely not start to finish. Just part 2. But, to give where credit is due, that particular video did give me a solution to my issue with part 2. Solved all my issues and I am grateful for sure. More on that in part II. So without further ado here is part 1.

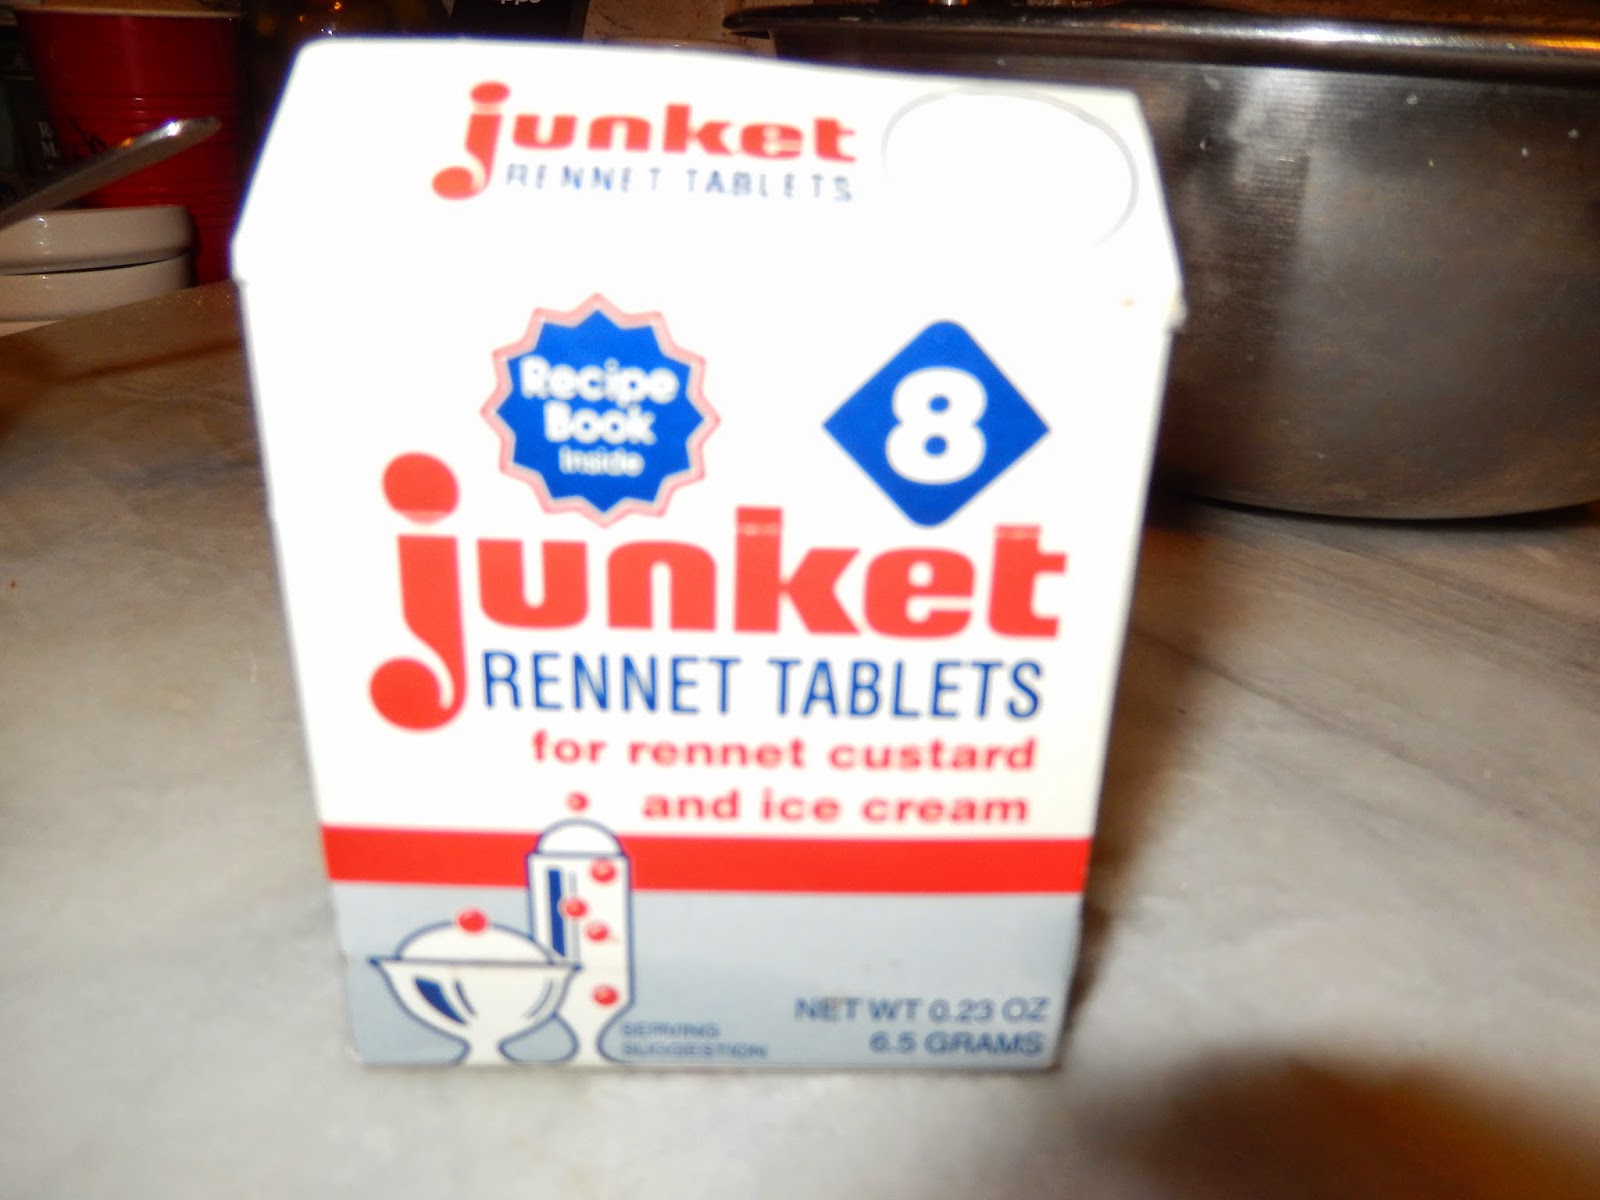
             I have been working with one gallon of milk at a time. It is so much easier to work with. I have to mention that lately I have worked with some Amish fresh milk but there isn’t a reason that regular store bought will not work for you too. I have tried this with and without the pickle crisp and with works the best so I recommend it. Ball makes it and it was available at the local Walmart in the canning section. So get some. You will also need citric acid and Junket rennet. Salt is important for preserving as well as taste. DO NOT use table salt. Iodine will ruin it. Use either kosher, sea or my cheap fav pickling salt. No iodine. Important. So, let’s run down the list:
 

1 gal milk of choice (whole and fresh preferable and encouraged for best results)

1 tsp of Ball pickle crisp dissolved in a ¼ cup of non chlorinated water. Important too!

1 tablespoon of citric acid also dissolved in a ¼ cup of non chlorinated water

1 tablet of Junket rennet dissolved in a ¼ cup of non chlorinated water
 
Here we go…I use the double boiler method easier to control the heat.
Bring milk up to room temp. Add the pickle crisp mix wait couple of minutes and add the citric acid mix and stir. Gets lumpy some at this time.
Start to bring up to 89 degrees in the double boiler set up. Usually about 95 degrees in the water should get you where you should be in the milk. Adjust to get to 89-90 with the milk. Stir to distribute heat evenly. Turn off heat when you have to so not to go over.

Once at 89-90 stir in the rennet mix about 20 seconds and for goodness sakes turn off the heat and on again to maintain your temp. Take it off the heat if you have to. Just be gentle. Place the lid on the pot with the temp off and check to make sure every once in a while you still have 89-90 degrees till clean break happens.
To check for clean break take a spoon as in above the whey should be a pale yellow and the curd separates cleanly. Once that happens cut the curd in three different directions and let sit 15 min to release more of the whey.

Gently stir, and then start to raise temp to 102 slowly. The curds will mat and you will want to stir to separate them and evenly cook them.

Do this and maintain the 102 for about 20 min. Strain into a bowl in a colander and transfer over hot whey that you have drained. Make sure the bottom of the colander is not sitting in the whey but over it. You may have to pour off some of the whey but reserve it to make the ricotta!

It will mat which is ok. Flip over still over in the colander over the hot whey. It will help draw off the liquid. I put the lid on top. I find this is easier than transferring to a cloth and hanging. One less mess to deal with. 
At this point you store the resulting curd in the fridge till ready for stretching. Meanwhile, take all the whey and raise the heat and gently boil it for about 30-40 min. and then let sit for a while to cool. strain in a tight weave strainer to get all the ricotta.
Use what is left of the whey for bread baking or if you know someone who is into protein shakes and the like they can use it. It is full of protein. Drink it if you wish or water your plants with it even! Till part 2 the stretching! Come back to see an easy way to do it!
 
Enjoy!
 
Steph
 

Wednesday, April 2, 2014

Burritos on a Budget

Been really busy lately and had some friend up from the South so it has been a little hectic. Life occasionally gets in the way of what we would like to do. No matter.

   I am sure I have said this before but sometimes you just gotta love the dollar store! I am sure there are plenty of things that are not such a great deal but then again there's plenty that are. They have these flour tortillas for a $1 a pack.
They are great in my book. They keep like forever and have so many uses beside just tacos. I have used them for wraps which is handy when you are out of bread. Make taco bowls out of them with upside down oven proof bowls on a cookie sheet or use those special molds like I picked up at goodwill for cheap. I used to make chips out of them but the chips came out so brittle that it was hard to scoop with them but they did ok I guess for a chip mound done up in the oven. What they are great at are making a whole mess of burritos which you can package up individually and freeze for a great wholesome CHEAP snack for the kids after school! I used to make them for my son who is a vegan.
 
    I picked up a couple of bags of pinto beans and used my crock pot to cook them all day. Mash them up and add what ever spices you like. Chili pepper, salt, garlic, onion or you may have a packet of taco seasoning around to toss in. There is no wrong way to make these. This batch I added a small can of tomato paste for added flavor. I didn't want a hot spicy taste to these so I left out the jalapeƱo peppers but you can if you want to add a little heat. Got leftover chicken, turkey or a bit of roast left? shred it up and toss it in! Like I said, there isn't a wrong way to make them. I added a 8 oz. bag of shredded cheese to the mix in mine.
 
You will have a mess of thick pasty bean going on. This was two bags of beans but you can only use one. It made up all of the two packages of tortillas with some left over. Now just put a heaping tablespoon or two into the bottom portion of a shell and fold half over, fold the sides in and roll up. At this point you can package up for the freezer. I decided we would have some fried up in a little olive oil served with taco sauce. You can eat them as is.

Serve it up! Another thing, you can top with sour cream or like I do with some of your homemade plain yogurt! Yogurt is a great substitute for sour cream and better for you. Check out one of my previous posts on how to make your own. With milk in the house you will have a limitless supply of yogurt on hand for sure! I sure hope you enjoy this post!
 
Enjoy!
Stephanie


Friday, March 21, 2014

Chicken Salad Tacos

I had roasted a chicken the night before so I had some left over. After picking all the meat off and chopping, I made a simple chicken salad with chopped onion, celery, parsley, salt, pepper, turmeric and mayo.
Unfortunately I didn't have any bread or rolls. Hmmm, scratched my head and noticed I had some corn tortillas sitting there which I use to make chips with. Well they are the wrong kind for making wraps. Flour tortillas are great for that (cheaper than the fancy wraps that they sell in the store). *Ding* I got a great idea! Chicken tacos! Corn tortillas are relatively inexpensive and handy.
I make my own hard shells all the time. Also, make chips or use to make Jack in the Box type tacos. I am getting off the track here so anyway...I like the flat bottom taco shells since they don't fall over. They are easy to make! I place them thru three lines of the rack in my toaster oven.
You can also use a regular oven. If you only put them over two they will curl to the point you will not be able to get them off. Don't worry how they are spread out, they will drop. 350 degrees for about 10 minutes should do it till they turn slightly brown on the edges. I slide under a butter knife under to lift them off.
Easy huh? Next is the fun part. Add a couple tablespoons of your chicken salad, lettuce, grated cheese (I used Colby Jack but use what you have), chopped or sliced tomatoes ( I had grape tomatoes handy)


There you have it! Chicken Salad Tacos! Believe me, they will come for seconds! I would imagine you can use tuna salad or egg salad or even shrimp salad as well. So you see, when there is a will there is a way! Quick and easy to make. I hope you enjoy them.
 
Enjoy!
Stephanie
 

Thursday, March 20, 2014

Irish Potato Candy- Not just for St. Patty's Day!

I make these almost every year at this time for St. Pat's Day. People at work just fight over them. As they are easy to make it can be tiresome to make small "potatoes" when making a double batch! They seem to get bigger and bigger and I go along. LOL. Well anyway, some what my recipe so here it is folks!

1/4 cup butter, softened
1/2 (8 oz.) package cream cheese
1 tsp. Vanilla Extract (I use my homemade extract from a previous post)
4 cups confectioners' sugar
2 1/2 cups flaked coconut
1 tablespoon or more of ground cinnamon
 
I use my +KitchenAid  mixer but use what ever method you want to get the same results. I usually double the recipe since they don't last long at all. If making a double batch use a large bowl or a medium for a single batch. Beat the butter and cream cheese together until smooth. Add the vanilla then slowly add the confectioners' sugar or it will fly all over the place. Beat till smooth. Mix in the coconut last. Roll into balls or little potato shapes, roll in the cinnamon and place on cookie sheet. Chill to set. Store in a container if they last that long!
I use a big flat container so they are not piled on top of each other. Don't want to smush them. I line my container with wax paper sheets. Don't they look cute? This picture was taken right before they were discovered. They all would have all been gone if I hadn't taken them away to save them for some others the next day.
 
Enjoy!
Stephanie
 

Monday, March 17, 2014

Rug Cleaning Solution

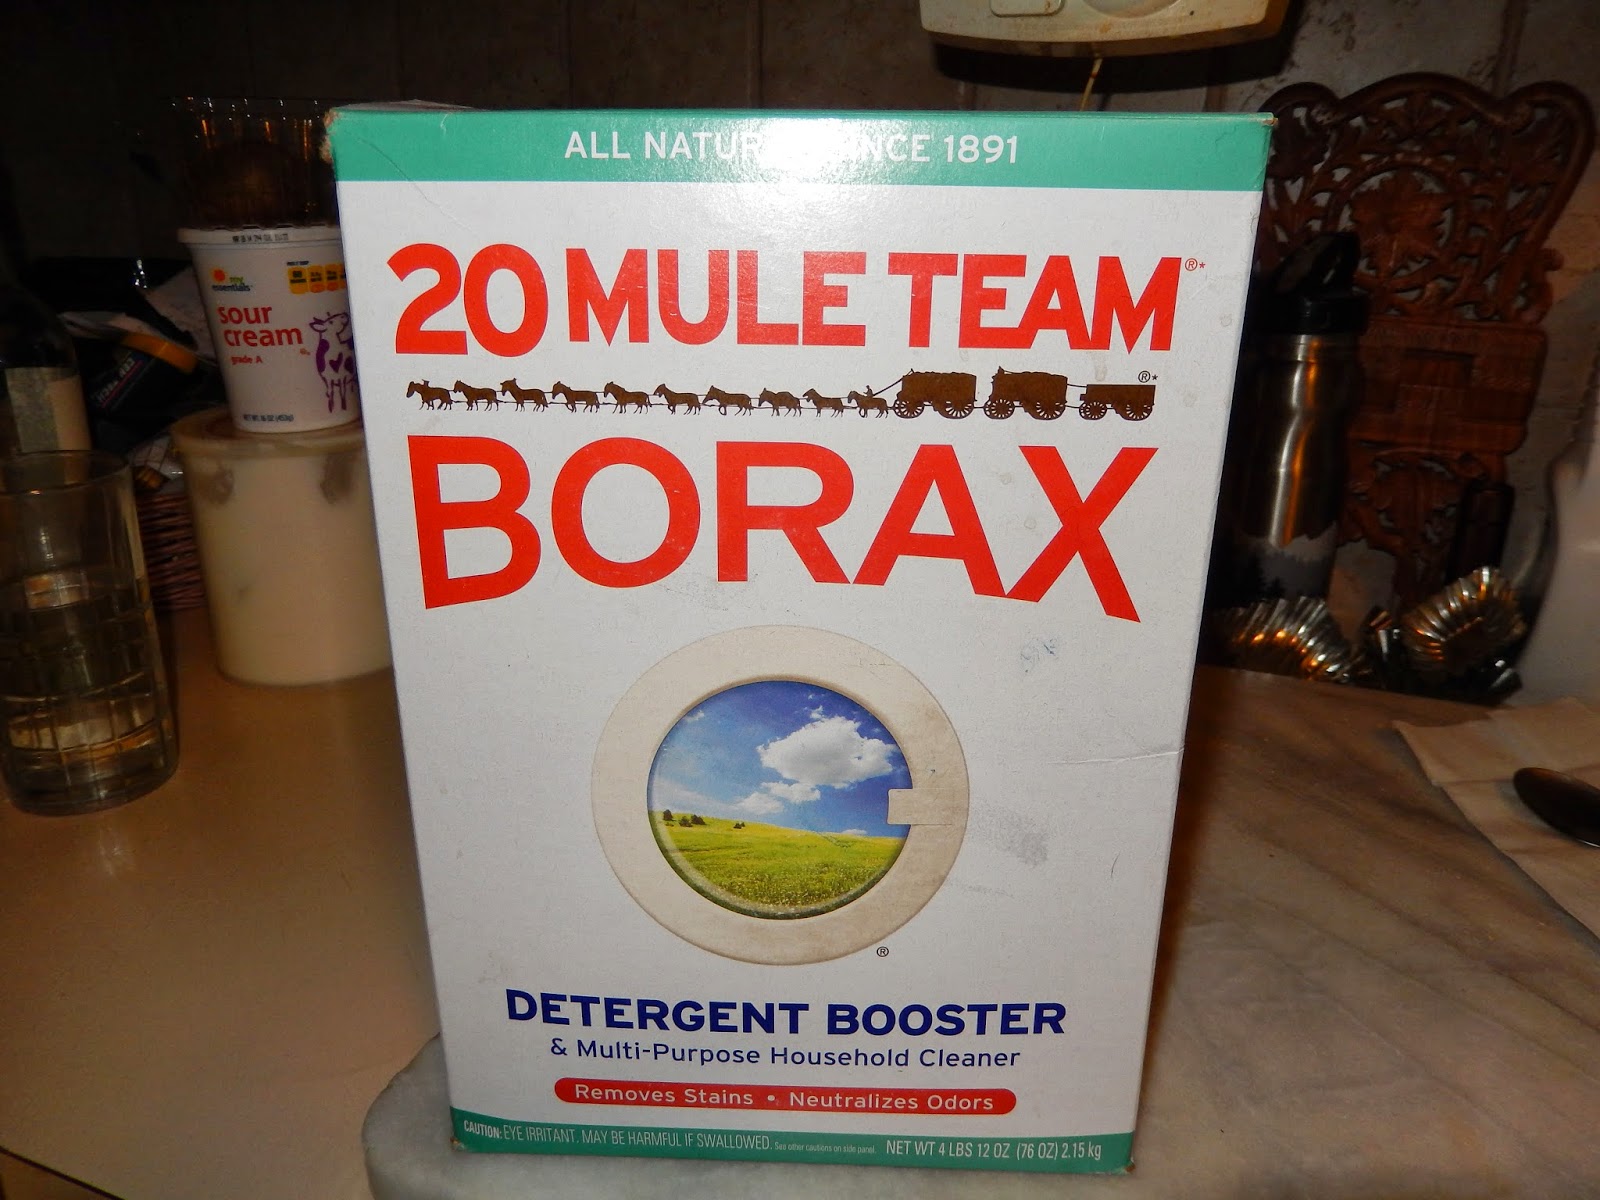
Well I was shampooing my rug and ran out of the darn cleaning solution and wasn't finished. So I decided to give this a try and guess what? It worked better than the store bought! I mixed about 1/2 cup of 20 Mule Team Borax with the water in the shampooer and away I went!
Took out a spot that the store bought didn't take out. Another bonus is that 20 Mule Team Borax deodorized the rug as well!
Guess I will be striking off rug cleaner off my shopping list from now on! It was also great mixed in my cleaning bucket for cleaning the baseboards and the walls. I had tried an all purpose commercial cleaner which didn't do a very good job and thought I would have to re-paint the walls but no! Sometimes you need to take a step back to basics. Just a note here going back to the homemade laundry soap, many people have said that their front loading washing machine tends to stink after a while and need to use that store bought cleaner. Now that is funny. Have to wash your washing machine? Gee, that doesn't sound right does it? I have never had a problem and it dawned on me that I make my own laundry soap and the answer was right in front of me. The Borax neutralizes odors! Duh! Well I hope this helps someone out there. Have a great day!
 
Enjoy!
Stephanie


Tuesday, March 11, 2014

Lentil Soup

Here is a recipe that is too easy and too inexpensive to make. It is very good for you as well as tasty. So I will not keep you in suspense so here it is.

Lentil Soup

4 quart pot
1 pound bag of dried lentils
Two large carrots
Two stalks of celery
1 medium onion
Salt, Pepper to taste
Dried parley or fresh is better
1/2 small can of tomato paste
Dash or two of powdered garlic (Optional)
Dash of dried basil or fresh (Optional)

Soak your beans in the morning in about 3 quarts of water if you are making it that evening. Or overnight, which ever is more convenient. Can't hurt a dried bean...LOL. After soaking start heating it up while you get your ingredients ready. 
Chop up your carrots, celery and onions and toss them in as you do them.
Add a couple of shakes of parley, a little salt and pepper and let it simmer for about an hour then add your tomato paste. Continue to simmer for about 15 minutes and that is it! If you want more tomato flavor add the rest of the can.This is also a hearty and HEART wise soup.

Now you are saying where is the meat? Well there isn't any. You don't need any chicken stock or beef stock. Trust me, it tastes fine. This is a great soup for vegetarians or for Lent.

Enjoy!
Stephanie

www.webdees.com

Sunday, March 9, 2014

Fruit Tarts

I know I haven't been on here lately. But you need to understand that I have been making the same things all over again. Started my Easter Ham last week. Made more yogurt and buttermilk. But this weekend I decided to make something different. I made fruit tarts. This is NOT my recipe. If you are sharp you will notice it's a Julia Child recipe. I started watching her old videos. Here is a pic how mine came out. I also made a huge tart (posting pics too) using a cheese cake rim since that is what I had.


Let me tell you that these were absolutely the best. 

Enjoy!

Steph

www.etsy.com/shop/deeshoppe
www.webdees.com